If this is your first visit to Homebrew Notes, read THIS first.
Homebrew Notebook Page: Summary Homebrew Note
Tested & Ready to Use: Yes
Source(s): None
Contents
- Why This is Important and/or Interesting
- Items Needed
- Process Gallery
- Process: Making a Yeast Starter
- Pitching the Yeast Starter
Why This is Important and/or Interesting
This Homebrew Note assumes you know why pitching adequate yeast is important and how to calculate the appropriate amount of yeast to pitch. If not, read the Note on Calculating How Much Yeast to Pitch first. In this Note, I’ll outline how to make a yeast starter for your liquid yeast.
NOTE: This post contains affiliate links. In the event of a sale, I will be awarded a small commission (at no additional cost to you). Don’t worry, I’ll just use the commission to buy more brewing stuff anyway.
Items Needed
- Dry Malt Extract (DME)
- Water
- Pot/Sauce Pan with Lid (at least 50% larger than starter volume calculated below)
- Stir Spoon (preferably metal and 8+ inches)
- Instant Read Thermometer
- Food scale with pounds, ounces, and decimals of ounces
- Large bowl, jar, or other vessel to hold the DME while/after being weighed
- Fermentation vessel (growler, flask, jar, etc.)
- Sanitizer
- Sanitizer Spray Bottle
- A sink or other water-tight space for cooling your pot/sauce pan
- Plastic wrap (ideal but not required)
- Yeast nutrient (ideal but not required)
Process Gallery
Have a quick look at the gallery photos by clicking on the first image and reading the captions as you click your way through the images. Then read the Making a Yeast Starter section below for context.

. Use a piece of plastic wrap over your scale and preferably a towel under the scale. DME is basically very fine powdered sugar. If it spills outside your jar, and it will, you'll have a sticky mess on your hands unless things are covered.")
 is blended well with the water - no clumps!")

 but you can also just keep the small ones from online yeast orders or ask your local homebrew store to sell you a few. They should only be a buck or two each.")


Process: Making a Yeast Starter
From your yeast calculations, you’ll need two numbers – Starter Size and DME Required.
Using a pot/sauce pan which is at least 50% larger than your Starter Size volume (preferably double), add water to the pot equal to the Starter Size volume. I typically add an extra 3-5 ounces for boil off but that isn’t really necessary. Start heating your water on medium heat so it gets hot but doesn’t quite reach a boil.
Set up your DME weigh station including your food scale, DME bowl/jar, and bag of DME. Put the bowl/jar on your food scale, tare the scale, and then weigh out your DME (please read the box out below first though!) in the amount shown as DME Required.
OPTIONAL BUT HIGHLY RECOMMENDED: Because DME is ridiculously sticky, I highly suggest that you put a hand towel or some paper towels under your food scale – the more space covered the better. Then, tear off a big sheet of plastic wrap and lay it loosely over your scale. If you make it tight, it will pull down on your scale and throw off your measurement. With the towel below and the plastic between your scale and bowl, clean up will be a LOT easier.
Now take the DME, your stirring spoon, and yeast nutrient (ideal but not required) to your pot of hot water. Slowly pour in the DME while stirring until there are no clumps. If you have yeast nutrient, put a pinch of it into the liquid. Increase the burner’s temperature to high for a boil. Once the water reaches a boil, you will almost certainly need to lower your burner temp to prevent a boilover (remember what I said about sticky? You can’t even imagine.) Now start a timer for 10 minutes. At the end of that 10 minutes, turn off the burner and cover the pot.
IMPORTANT: Everything that touches the liquid wort after this point (after boiling) must be sanitized. The wort you just made is now subject to infection and infected wort ruins your beer. Before you put a thermometer, spoon, or anything else in that liquid, spray it with sanitizer – every single time. If you forget in one instance (e.g. checking the temp without spraying the probe once), it’s not the end of the world but post-boil sanitation is critically important with starters just as it is on your brew days. After all, that starter you just made is a mini-batch of beer for your yeast – not bacteria – to grow in. Make a habit of it now.
Take the covered pot to your sink or other water container and soak the closed pot in water to cool it to your fermentation/pitching temperature. Unsure what that temperature is? Do a search for your particular yeast strain (e.g. WLP001, WY1056, OYL-006) and the phrase “fermentation range”. It’s typically something like 62-72 for an ale and 48-55 for a lager. Cool to the low end of your yeast’s range.
Keep in mind that during this cooling process, you’re displacing heat from the pot into the surrounding water. A few things you can do to cool the wort in the pot more quickly (while making sure the pot stays covered at all times):
- Put ice or ice packs around it
- If the water around the pot gets warm, drain and refill the sink with cold water
- Swirl the entire pot around in the water to eliminate any hot/cold pockets in the pot or the sink
TIP: Keep a small tray of ice packs in the freezer so they’re always ready when you need them. You can use them for all sorts of wort chilling around the brewhouse. You can buy larger freeze packs but you can also just keep the small ones from online yeast orders or ask your local homebrew store to sell you a few. They should only be a buck or two each and all of them are reusable. See my tray of ice packs as an example.
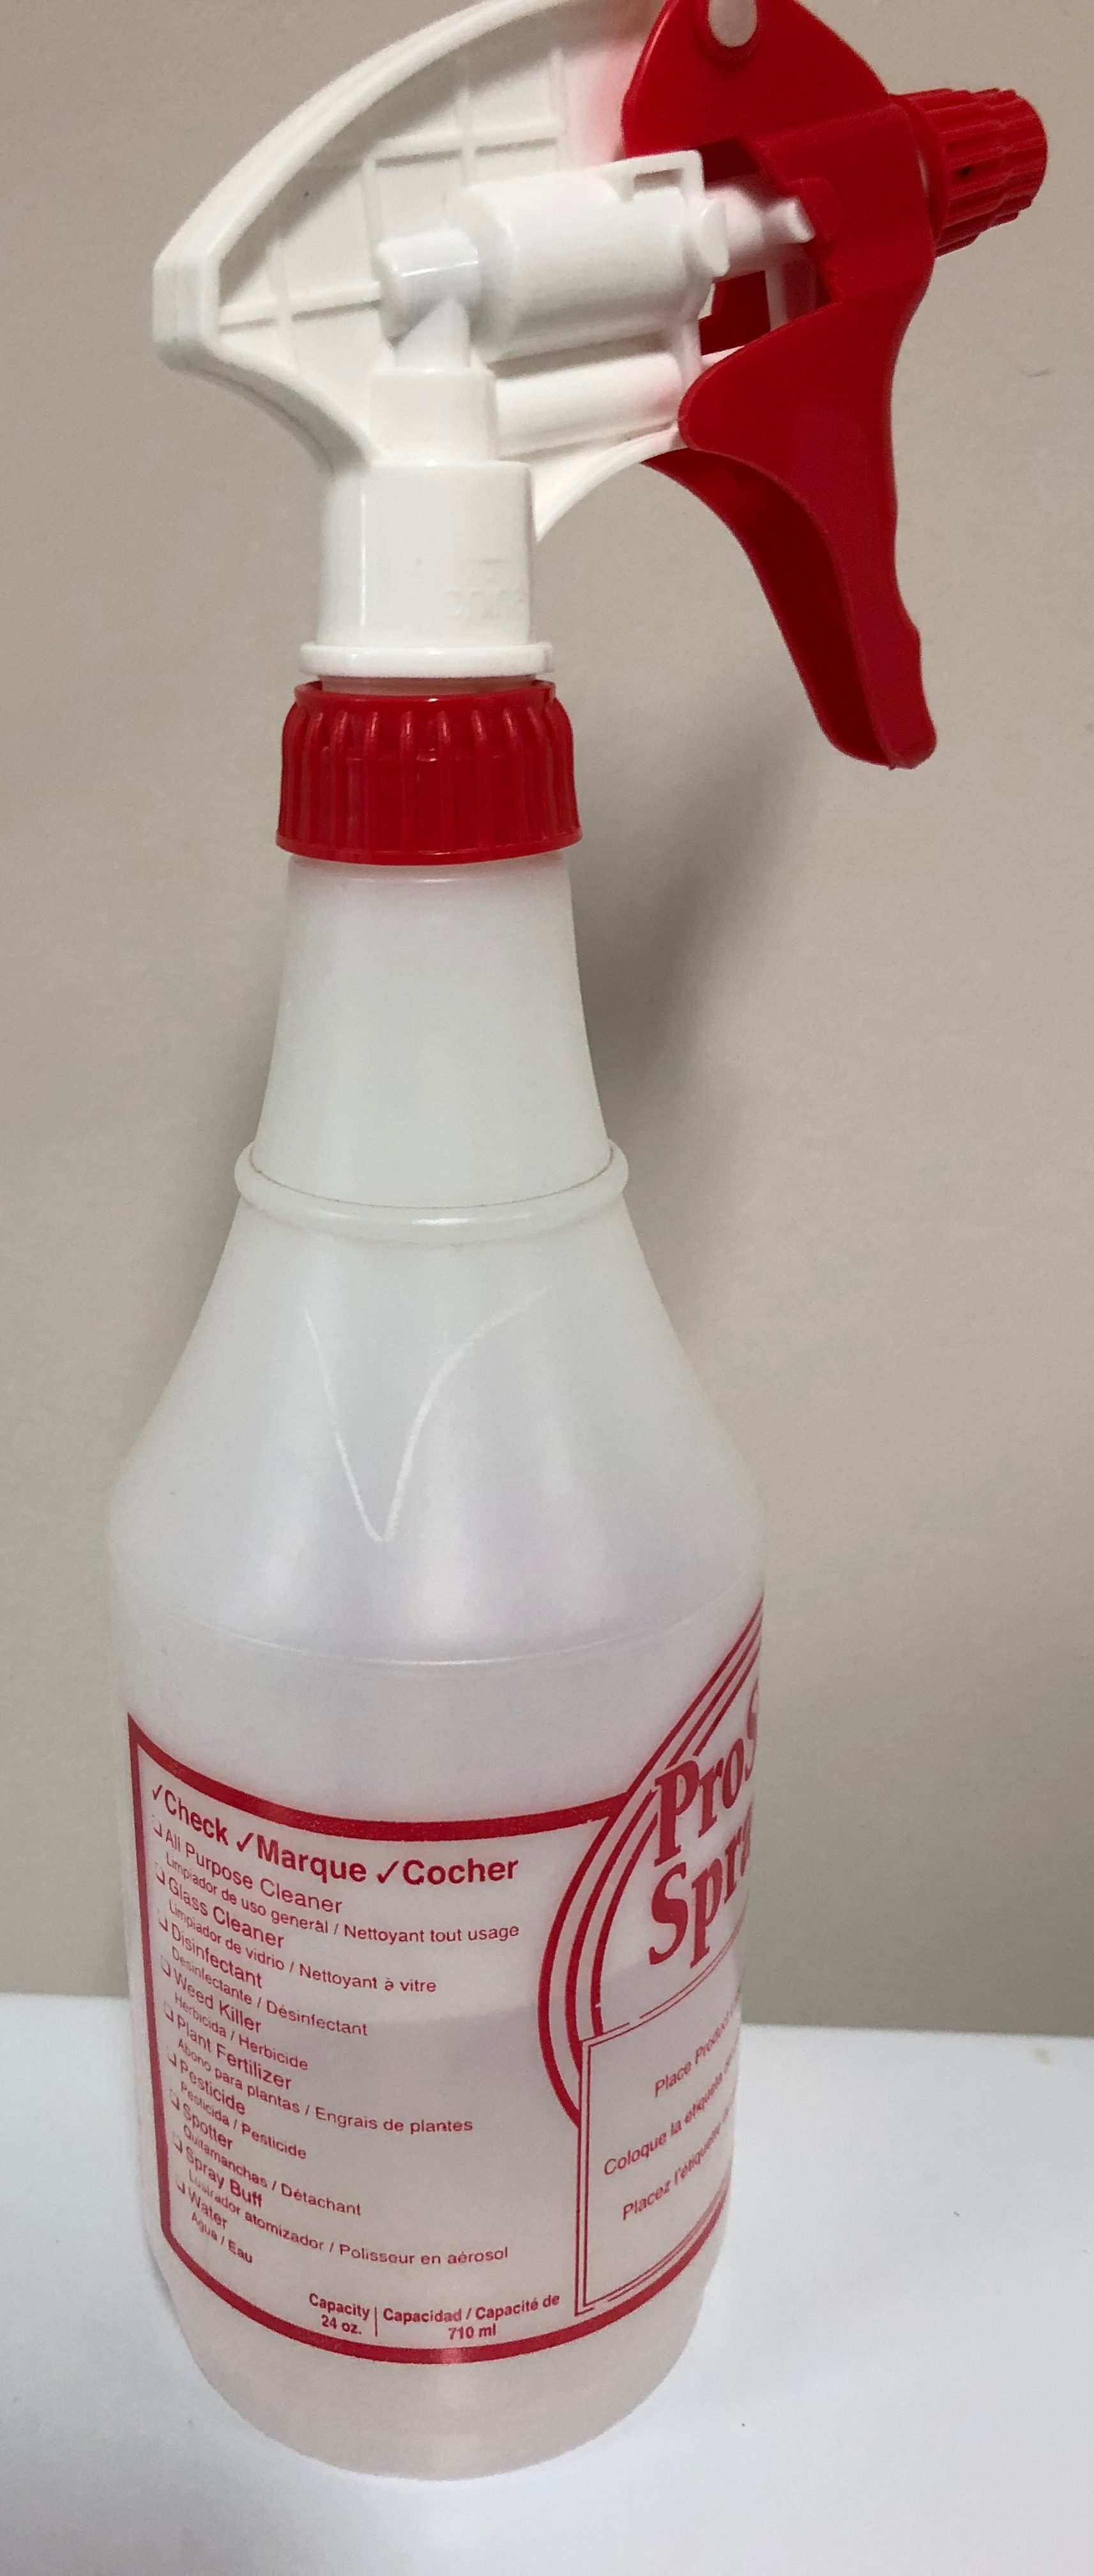
ANOTHER TIP: Keep a sturdy spray bottle (they’re inexpensive) of sanitizer around because you’ll use it even more than the ice packs. You’ll spray spoons, thermometers, and all sorts of post-boil tools regularly. For sanitizer, you can use a splash/drop or two of Star San with water or you can use the cheapest vodka you can find. Either works great. See my sanitizer bottle as an example.
Once the wort has dropped to the target fermentation temperature, sanitize the inside and outer lip/edge of your starter container (jar/flask/growler), your stir bar (if using a stirplate), your funnel, and one side of a piece of aluminum foil (roughly 12″ x 12″). This is most easily done using a spray bottle of sanitizer (see ANOTHER TIP above).
ALTERNATIVE: If you do not have a stirplate and plan to use a growler, large jar, or some other vessel for making your starter, that’s a perfectly acceptable alternative approach. Just follow these processes as outlined ignoring references to stir bars and stirplates.
Keeping your hand on the dry side of the foil, place the center of the wet side on top of your sanitized glass container. Fold the foil around the sides so the foil is flat across the container’s opening and squeeze the foil tight around the sides. You want it to cover the top without falling off but still allow gas to seep out if pressure builds (i.e. no rubber bands to hold it on) (see my starter flask as an example).
Now remove that foil and quickly pour the wort into the sanitized glass container using the sanitized funnel. Don’t drop everything trying to do this in five seconds but don’t wander off and leave your container uncovered for 3 minutes either. Shake your packet of yeast to mix its contents. Sanitize your yeast pack and your scissors. Cut/tear the top of the yeast pack open. Pour (“pitch”) the yeast into the container with the starter wort. Cover the container again with the foil.
If using a stirplate, put the flask onto the stirplate so the stir bar is on the magnet and start the plate at a speed where you get a mild vortex. If you are using a growler, jar, or some other container, shake or swirl the container for 30-60 seconds to dissolve oxygen into the wort (the yeast need it). Keep the starter at room temperature for 24-48 hours occasionally shaking it to keep the solution aerated if you’re not using a stirplate (if you are, the plate will aerate). If you don’t have a stirplate and you’ll be unable to shake it regularly, you’re still better off than not making a starter at all. Just make sure to make that initial shake a bit longer – 60+ seconds.
After 12-24 hours, the wort will start getting cloudy and probably foamy. That additional cloudiness is yeast! That foaminess is fermentation! After 24-48 hours, the yeast will have consumed all of the nutrients and oxygen in the starter. Switch off the stir plate or discontinue shaking and it will form a milky white layer on the bottom of the container as the yeast flocculates. If you put it in the refrigerator (with foil on) to chill for a few hours, it’ll flocculate even faster. If you are not planning on pitching the yeast right away, you’ll definitely want to store it in the refrigerator.
Recommended but not required – If you put your yeast in the fridge, take it out a few hours before you’ll want to use it to allow it to warm to room temperature.
Your starter is now ready to use.
Pitching the Yeast Starter
After brewing and chilling your beer that the starter was created for, pour (“decant”) off most of the clear liquid from the top of your starter, being careful not to disturb the white yeast layer below. You want to leave a layer of liquid wort on top of the yeast that’s about as thick as the layer of compacted yeast on the bottom. If it’s a bit more or bit less, no sweat.
Once the yeast and your freshly brewed wort have reached your pitching temp, rouse the starter yeast into suspension by swirling the remaining starter solution and pitch the yeast slurry into your freshly brewed wort.
You’ve successfully created and used a yeast starter! Now save and/or print the summarized Homebrew Notebook Page for use on future starters. Your taste buds will thank you.
Now that you’ve read this Homebrew Note, let me know if you have a question, recommended improvement, or other thoughts in the comments below. As I mention in About Homebrew Notes, these are living documents and your feedback is appreciated!